Indoor Seed Starting Basics

You have your kitchen garden plan (link here), determined the seed start timing (link here), and have gathered your seed starting supplies (link here). Now you’re ready to sow and grow! This post will guide you through the basics of starting seeds indoors and cover some of the common issues that may arise.
You can start seeds indoors or sow directly into the garden outside. How do you know which method to use? Many seed packets will state the preferred method but also think about timing. Vegetables and herbs that have more days to maturity should be sown indoors and transplanted out when the weather is appropriate. Those that are faster to mature can be sown outdoors. There are other factors, as well, such as:
Optimal soil temperature for germination
Root vegetables - carrots, radishes, parsnips should always be sown outdoors
Sensitive to transplanting - cucumbers, squash, parsley, dill (transplant with extreme care)
Pest pressure - squirrels digging up sunflower seeds
Some vegetables, like cucumbers, lettuce, and others can be either started indoors or directly sown outdoors. In this case, timing is the deciding factor.
SEED PRE-TREATMENT
Some seeds need to be soaked in water, scarified, or stratified to germinate at the best rates. Check the seed packet or online for this information.
If soaking in water, use lukewarm water for the time specified on the seed packet. Vegetable seeds commonly soaked include peas, beans, corn, and chard.
Scarification is the process of lightly damaging the seed coat for better germination. This can be done with sandpaper, a nail file or by clipping a small portion of the seed with nail clippers. Luffa is one example of a vegetable seed needing scarification.
Stratification is a period of moist cold needed to break dormancy. Do this by moistening a paper towel and storing it in the refrigerator for the necessary amount of time. Note that annual vegetables will not need stratification but some perennial herbs will require it along with some perennial flowers.
HOW TO SOW SEEDS
Use a quality mix labeled for seed starting rather than a general potting mix. Seed starting mix has a looser, finer texture than typical potting soil. This fine texture allows for the delicate process of seed germination and rooting. Premoisten the soil to the point where you can make a ball but not have water dripping out.
Add the soil to clean seed cells, gently pushing soil into each cell so that there aren’t air pockets. Leave enough room at the top to allow the recommended seed sowing depth for the seed type. Place 1-3 seeds per cell and cover with soil so that they are at the recommended depth and press lightly for good seed-soil contact. Lightly sprinkle vermiculite on top, if desired. This will keep the soil surface dryer and help prevent damping off. Sometimes the seed information will specify that light is needed for germination. In this case, press seeds into soil but do not cover and be sure lights are on over those trays.
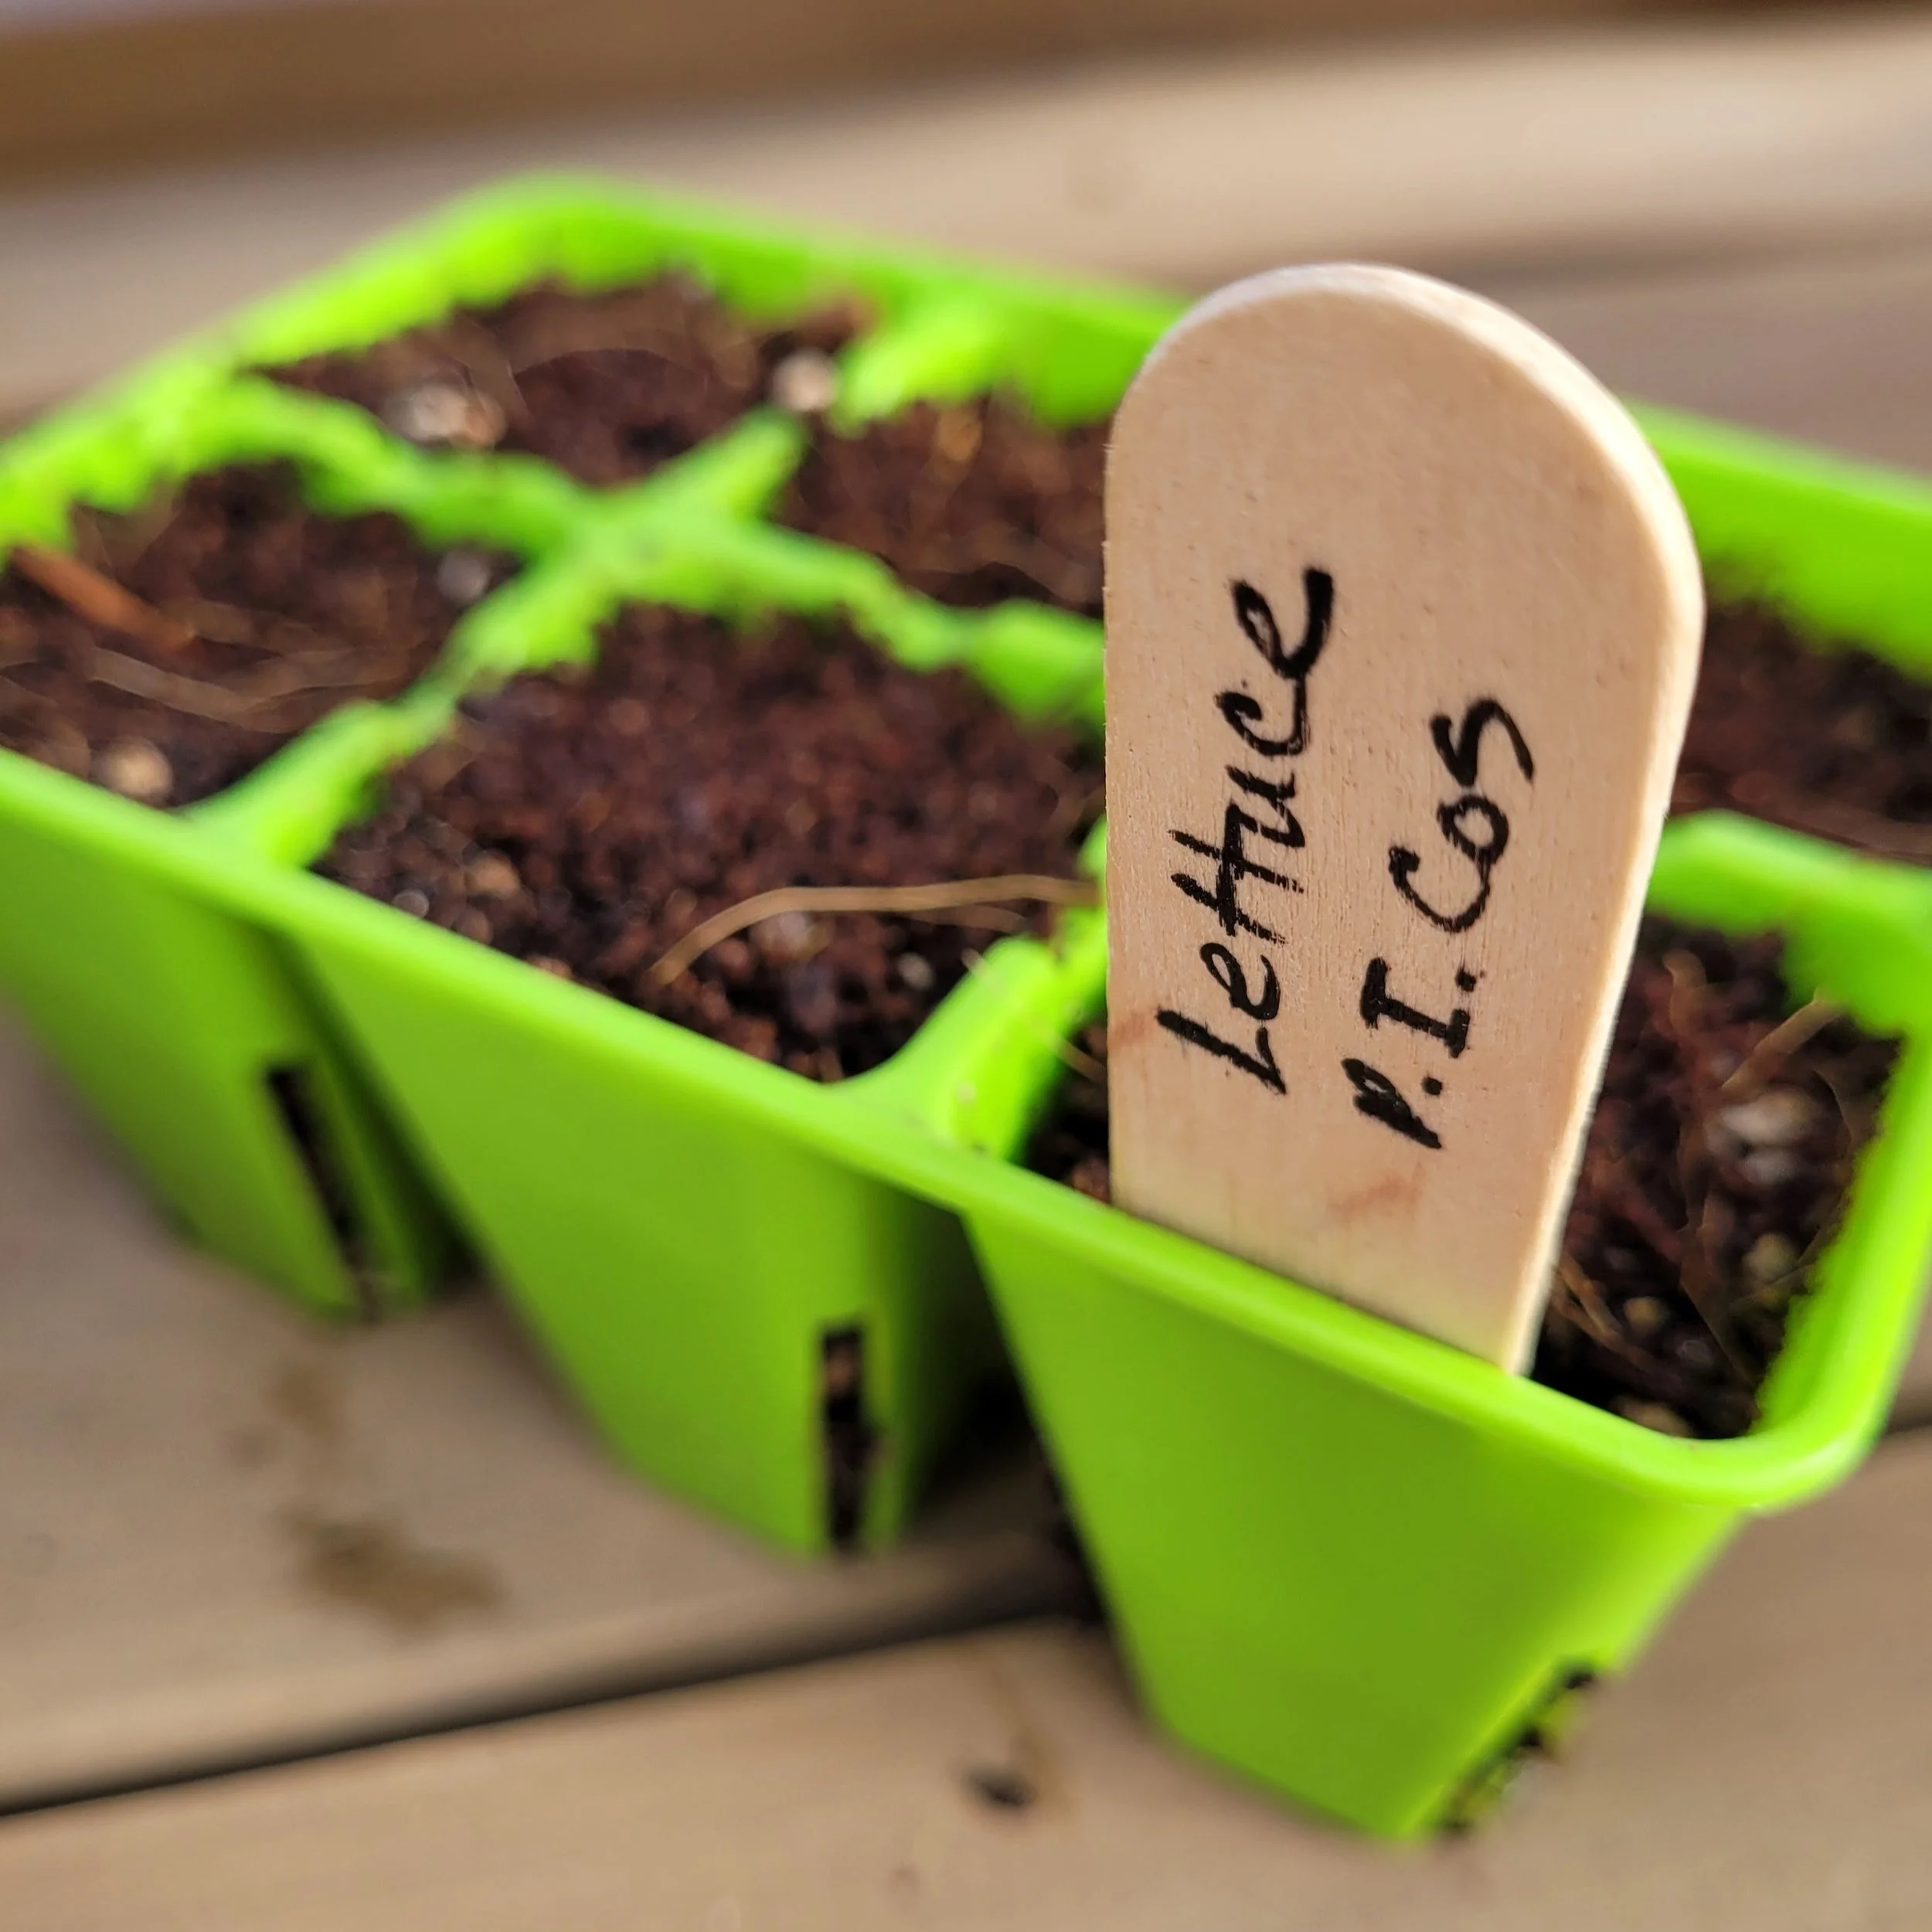
Don’t forget to label the seed trays with the plant names! Cover the tray with a dome (open vents) or use plastic wrap with holes.
HEAT MAT

Some seeds require warmer temperatures to germinate and you’ll typically find this information on the seed packet or online. If needed, place the seed tray with a dome on the heat mat. Remove the dome once there’s some germination and remove the heat mat when about half of the seeds have sprouted.
DAILY CHECK
Check the seeds daily for germination and watering needs. Once you have germination, it’s time to turn the lights on! Have lights on for at least 12-16 hours per day with 8-12 hours of darkness. The lights should be anywhere from 3 to 6 inches above the plants, depending on the strength and color temperature of the lighting system. Too much light leads to leaf burn and not enough light will produce leggy plants.
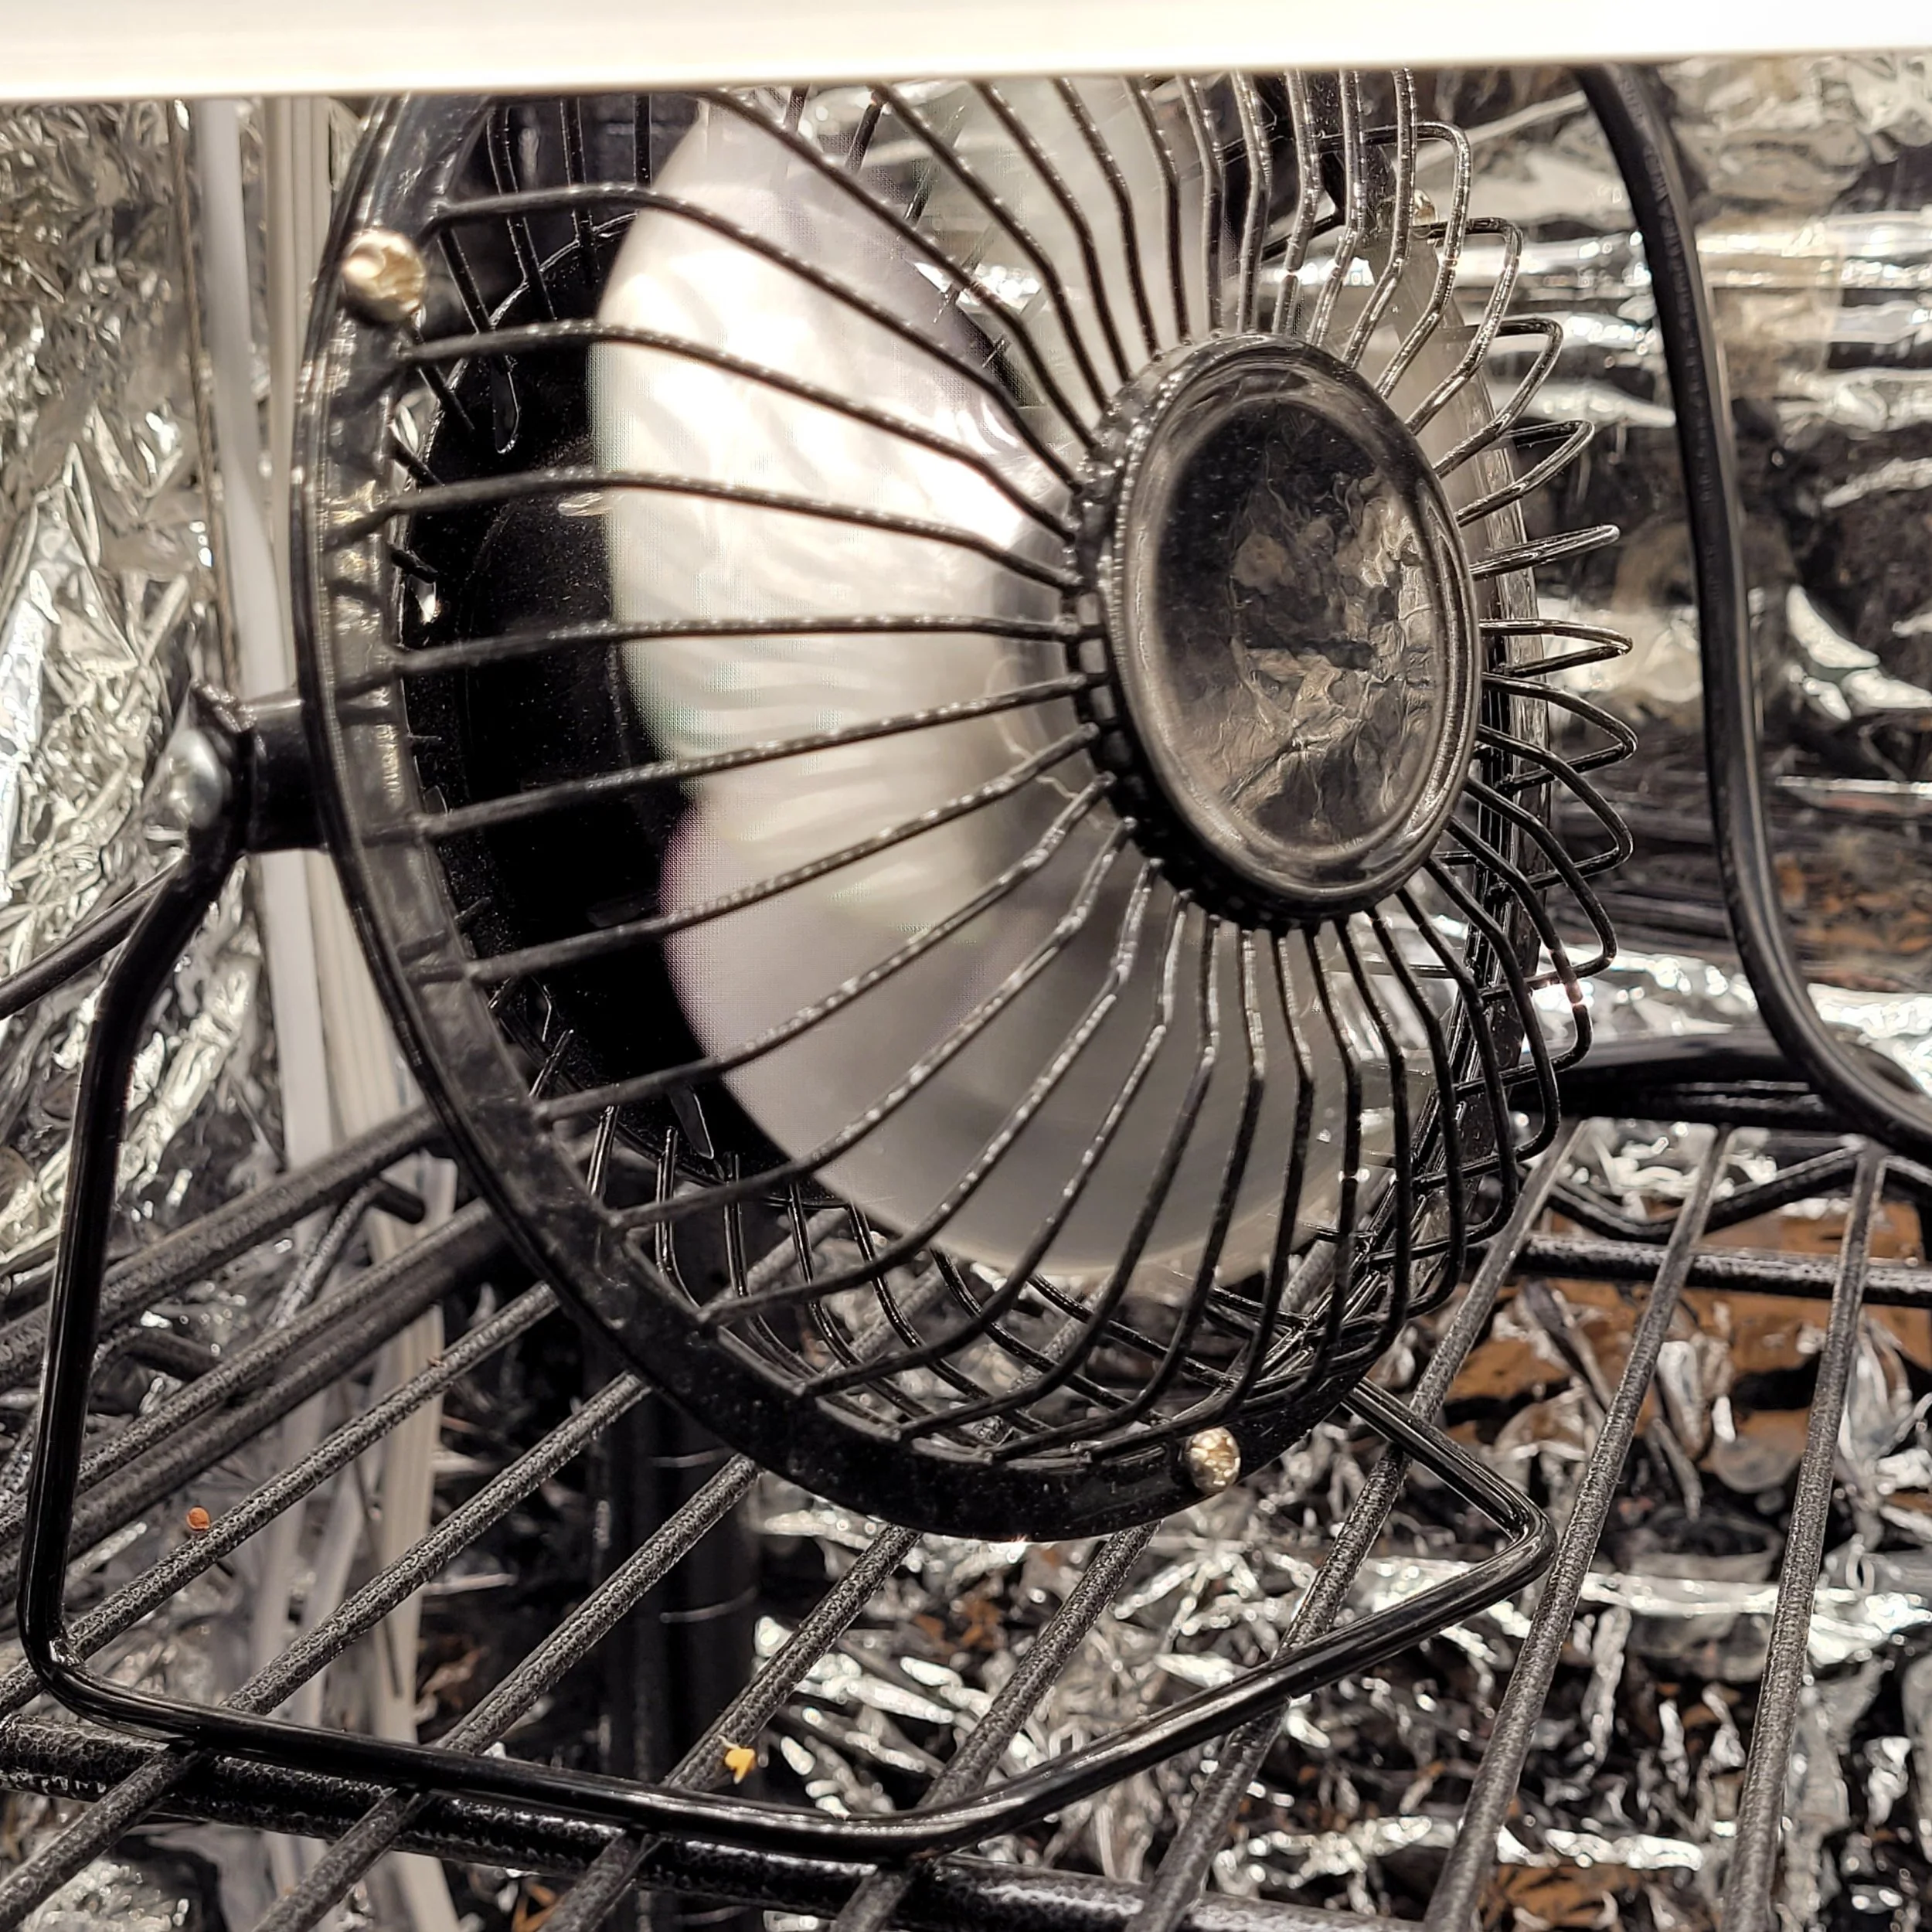
AIR CIRCULATION
Provide good air circulation for your seedlings. Point a small fan at the seed starts to help the stems grow strong. This also cuts down on the risk of mold and fungal issues.
WATERING
Bottom watering the seedlings is recommended. Once the top of the soil is dried and has become a lighter brown, add about ½ inch of water to a solid seed tray, let the cells sit in the water, and soak it up. You’ll notice the soil surface darkening with the moisture. If needed, add ½ inch more incrementally just until the soil surface begins to darken. Don’t leave it too long or oversaturate the soil because that will damage the fragile seedling roots.
FERTILIZER
As your seedlings grow, the first pair of leaves, the cotyledon leaves, will appear. They may or may not look like the typical leaves of the plant and they will eventually turn yellow, then brown and drop off. This is normal. Once you see those cotyledon leaves, it’s time to begin a liquid feed at half strength about every other week.
POTENTIAL SEED STARTING ISSUES
Damping off is caused by a fungus attacking the fragile stem of the newly emerged seedling causing it to flop over and wither. Steps to prevent this include:
Use a quality seed starting mix
Bottom watering your seedlings
Letting the soil surface dry between watering
Fungus gnats are tiny insect pests that develop in soil, especially moist soil. To prevent fungus gnats, bottom water your seedlings and add a layer of vermiculite to the soil surface. Also, there are yellow sticky traps on the market that help kill adults.
Mold can grow on the soil surface if there’s too much water in the soil. Allow the soil surface to dry between waterings and practice bottom watering.
Poor seed germination can happen for a variety of reasons.
The seed was planted too deep.
The soil temperature wasn’t ideal.
Not enough water or too much water.
The seeds are old.
The seeds needed treatment before sowing, such as scarification or stratification.
Leggy seedlings are typical when there isn’t enough light. Try moving the light source closer to the plants or adding additional lighting.
Yellowing leaves on seedlings can indicate too much water, not enough water, or a nutrient deficiency. Check the soil using a moisture meter, if needed, to determine appropriate watering needs. A nutrient deficiency can happen if there isn’t a regular fertilization schedule. Yellowing leaves can also happen if the plant is too big for the pot. See below.
Plant roots visible above the soil or poking out through drainage holes show that it needs to be transplanted into a larger pot or outdoors, if appropriate.
Wilting plants are usually from not enough water. There are times when wilting can indicate too much water, though. An example would be if the soil wasn’t free-draining and was oversaturated.
Pale or white spots may appear on the leaves if a plant is too close to the light, indicating sunscald. Move the light a bit further away from the plant.
Starting seeds indoors is an excellent way to experiment with unique vegetable varieties that are not commonly found at garden centers. It’s rewarding to raise plants through the full growth cycle, from seed to harvest. And, growing enough to share with others is an added bonus. Be aware that challenges are a part of the seed-starting gardener’s journey. Embrace these obstacles as learning experiences, and enjoy the overall process!